
A Guide for Creating a Customer Service Portal Account
This page is a guide to registering for a Customer Service Portal account—an online platform where you can book or change first-time appointments, send queries to the customer service team, and check the status of your applications.
In This Section
1. How To Register On The Customer Service Portal
- How To Register
- Email Verification
- Personal Details
- Nationality
- Create Password
- Using Microsoft Authenticator
2. Identity Verification (ID – Pal)
3. Using The Customer Service Portal
How To Register On The Customer Service Portal
You can choose your preferred language from the drop-down menu.
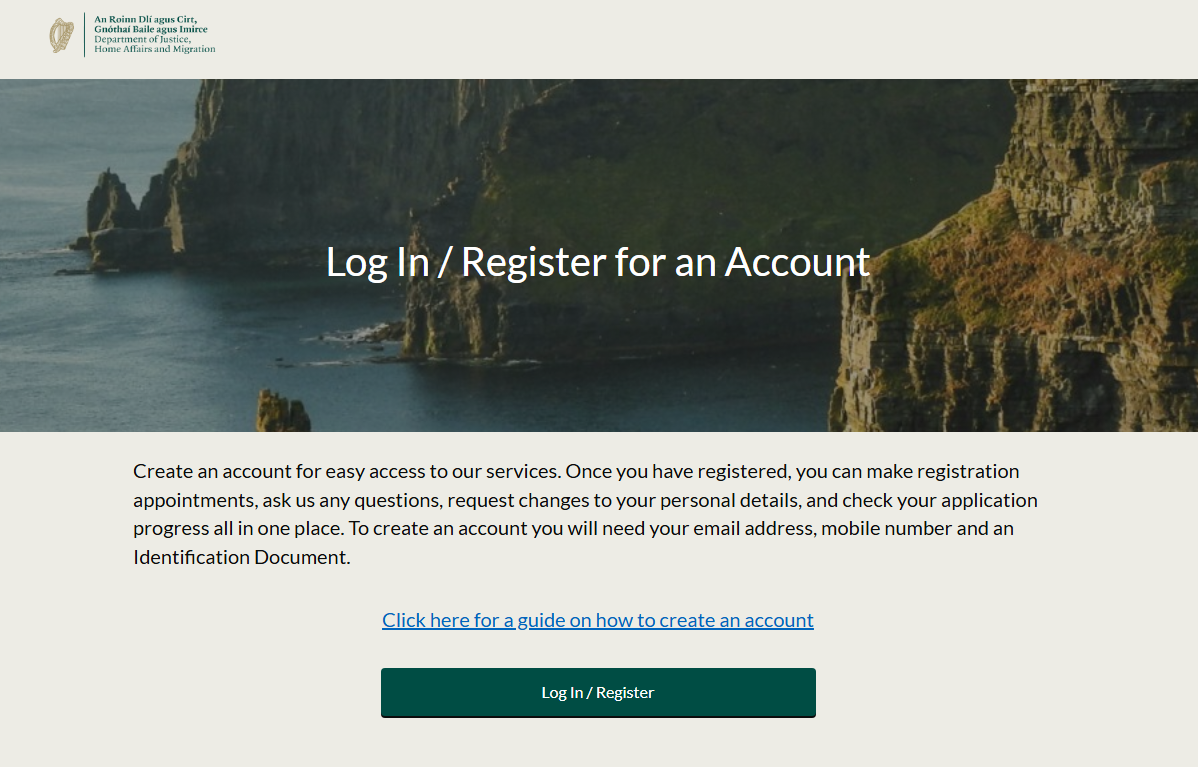
If this is your first time using the Customer Service Portal, select “Don’t have an account?” to register.
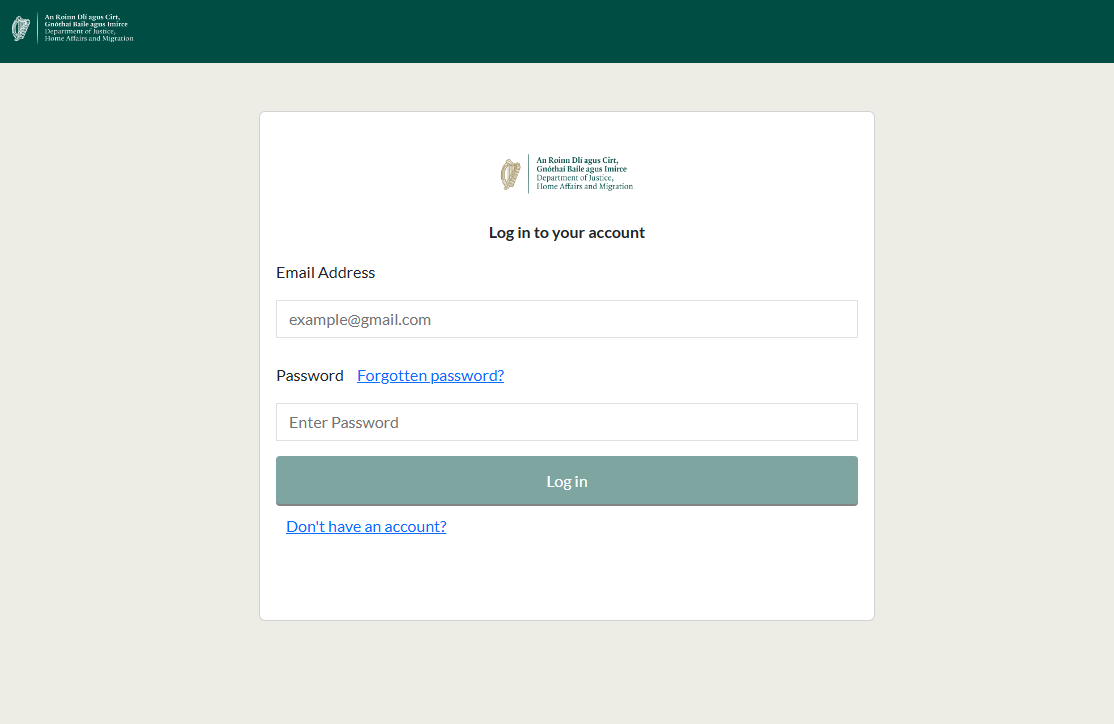
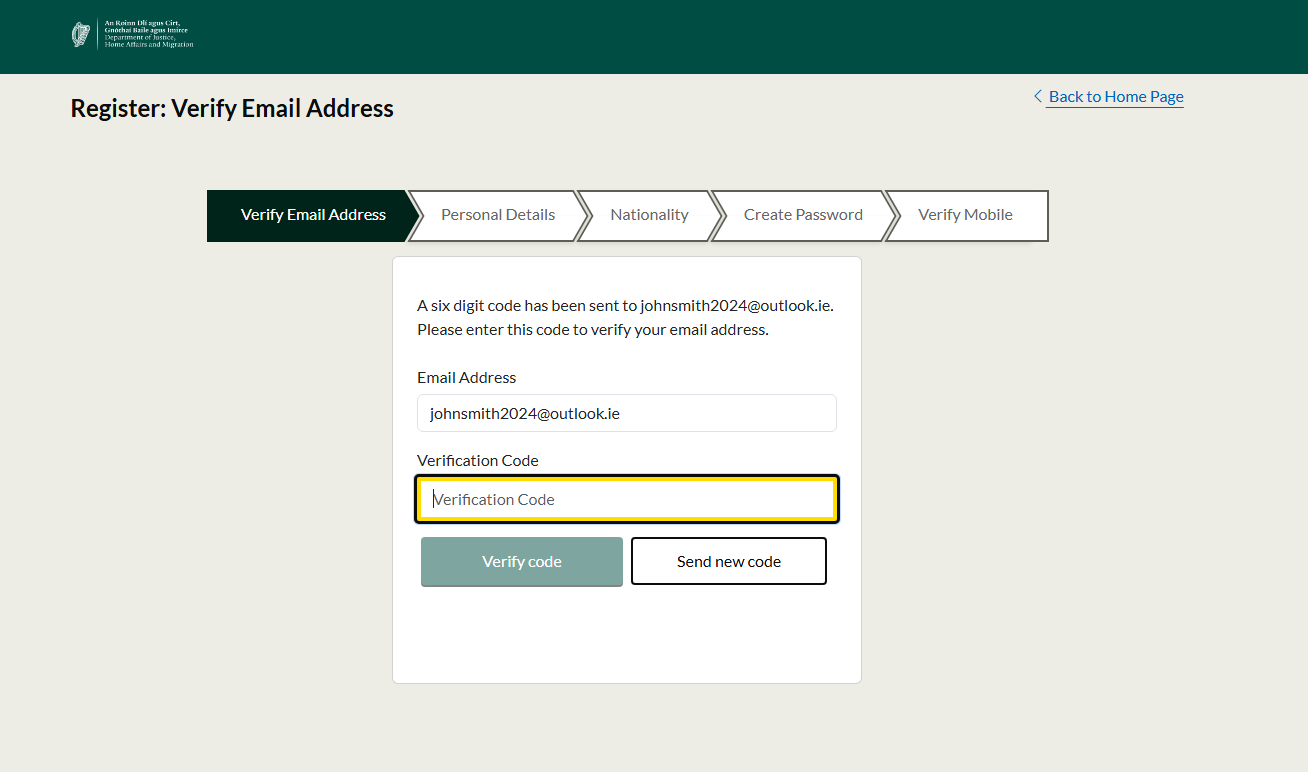
Use the same email address for future applications, as you can only register one email address. Please check your junk or spam folder if you cannot find the email.
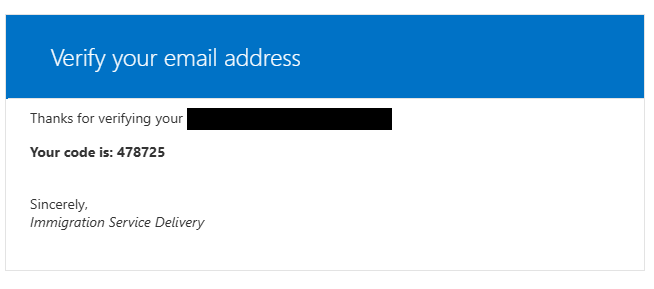
When you receive the verification code by email, enter the code in the field provided and select “Verify code.” This is to confirm your email address.
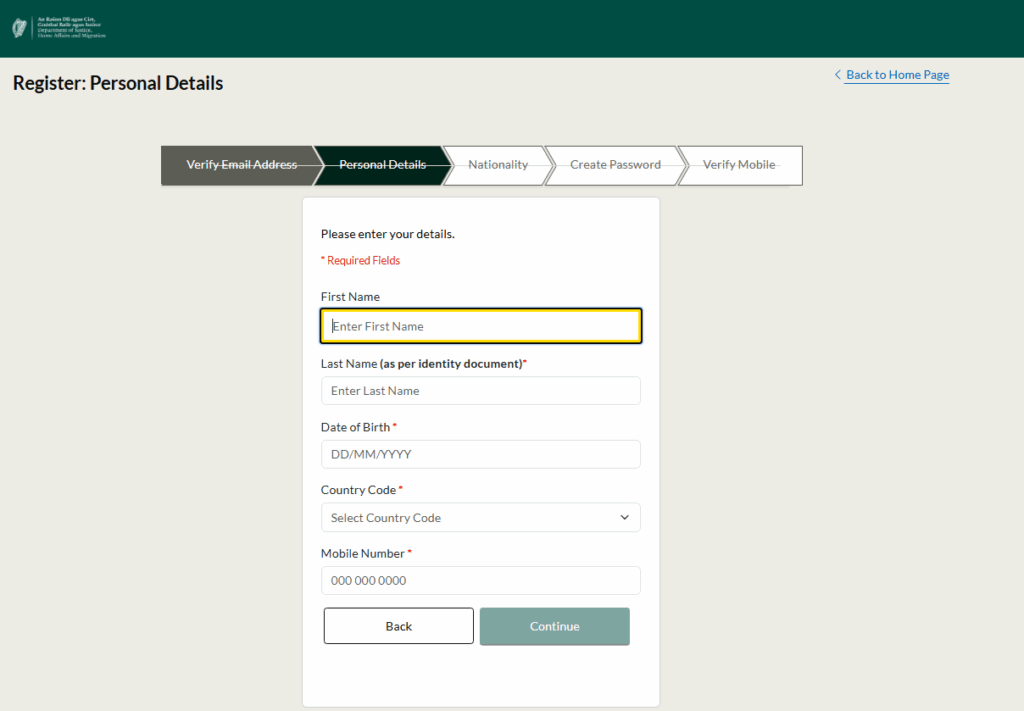
Please enter your name, date of birth and mobile phone number.
Your personal details must match the details on your identity documents to complete the authentication process.
If your passport or driving licence includes a middle name, include it in the “First name” field.
Enter your date of birth in DD/MM/YYYY format, with the day before the month.
Select the correct country code from the drop-down list and enter your mobile number in the field provided. Please use a mobile number as a verification text message will be sent to your phone.
For example, if you have an Irish number and your mobile is 0875699931
- Select Ire (+353)
- Enter 875699931
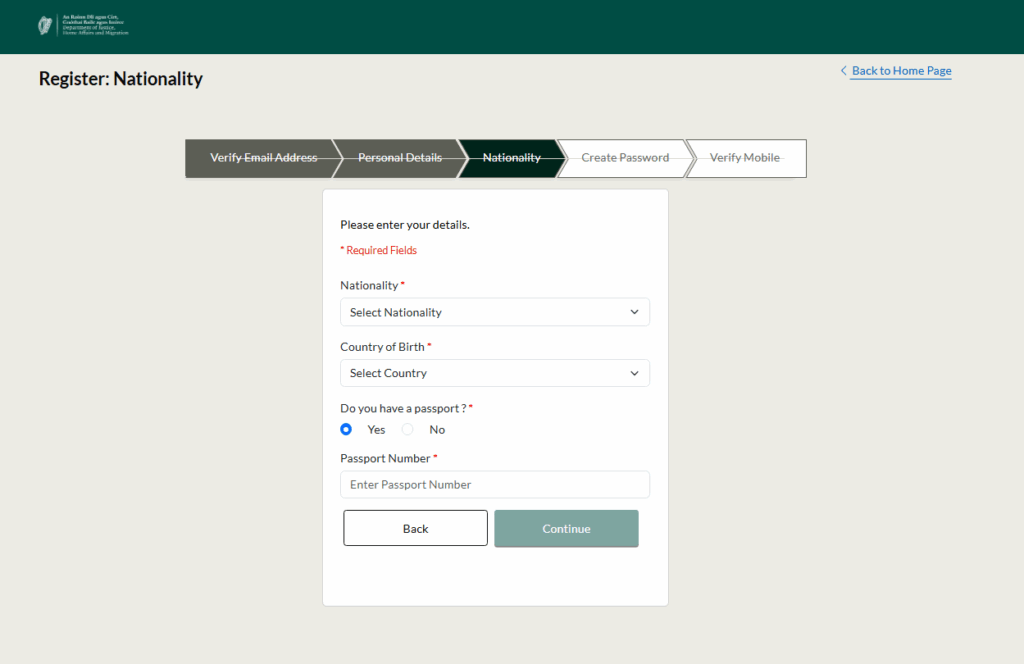
Select your nationality and country of birth. Enter your passport number, even if it is not the document you will use for applications. If you do not have a passport or another accepted identity document, you can email [email protected]
We can accept an expired passport if you provide a supporting letter from your embassy confirming that you have applied for a new passport. If you do not have an expired passport, we can accept:
- A grant letter, or
- A blue card from the International Protection Office (IPO).
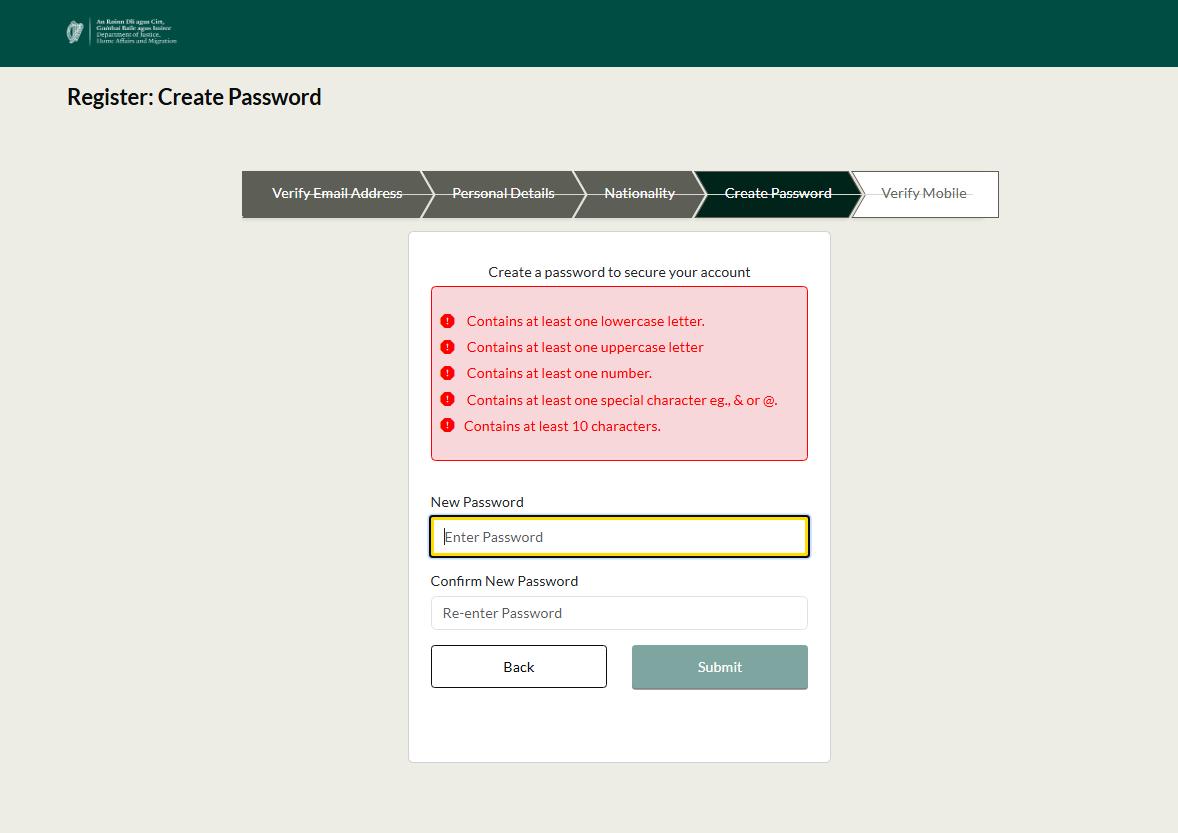
- one lowercase letter
- one uppercase letter
- one number
- one special character (! or @)
- 10 characters
Once your password has been accepted, select Submit.
You will then be presented with a screen displaying a QR code to set up Microsoft Authenticator.
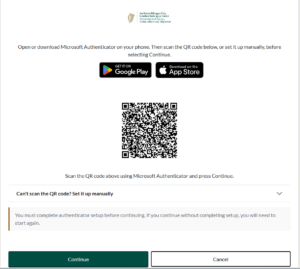
We have introduced improved security on our Customer Service portal. This extra security, called multi-factor authentication (MFA), is enabled to better protect your personal information and to reduce the risk of fraud. To protect your portal account, you need to set up the Microsoft authenticator app on your smartphone. This app creates a one-time security code that you will use for future sign-ins.
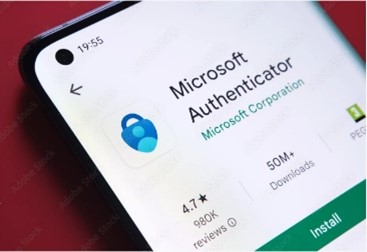
Step 1: Download the Microsoft Authenticator app
- On your smartphone, download the Microsoft Authenticator app.
Step 2: Scan the QR code
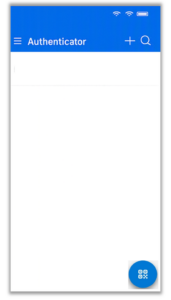
- Open the authenticator app and select the QR scan icon.
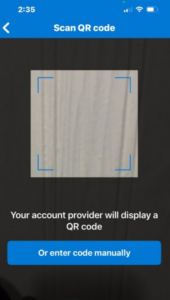
- Use your smartphones camera to scan the QR code displayed on the Customer Service Portal.
- Once scanned, your account will be added to the Microsoft Authenticator app.
Step 3: Verify the setup
- Enter the one-time security code generated in the Microsoft Authenticator app.
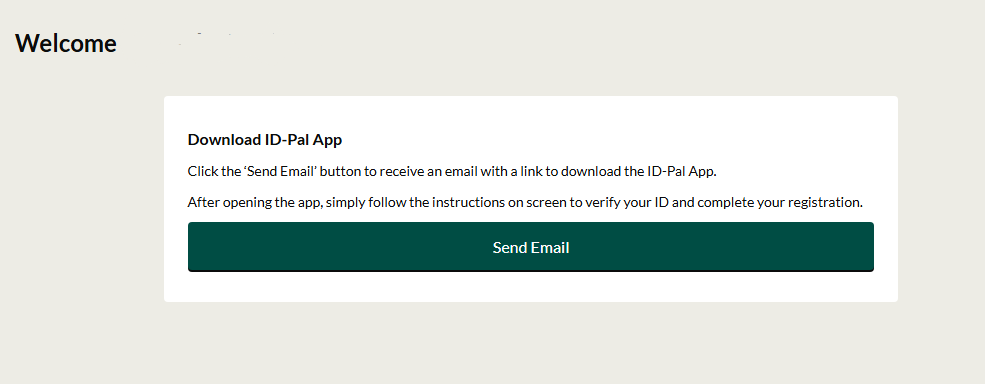
- Once verification is complete, , you will be directed to a screen where you should select “Send Email” to receive a link to download ID-Pal.
Alternative setup
If you are completing this setup using only a mobile device and cannot scan the QR code, you can set up your account manually instead.
- On the portal setup page, tap Enter code manually and copy the code provided.
- Open the Microsoft Authenticator app.
- Tap the + (Add account) icon.
- Select Other account (Google, Facebook, etc.).
- Tap the enter code manually button.
- For Account Name, enter Immigration Customer Service Portal. For Secret key, paste the code you copied from the portal setup page.
- Tap Finish to complete the setup.
Identity Verification (ID-Pal)
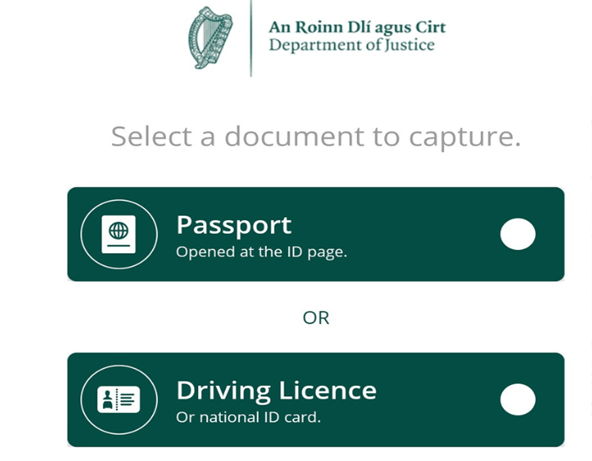
After downloading ID-Pal, you will start your identity verification, where you must choose one of the following documents:
- Passport
- Driving licence
- National ID card
- Travel document
- Public Service Card (PSC)
- Residence permit
- Blue Card issued by the International Protection Office (IPO)
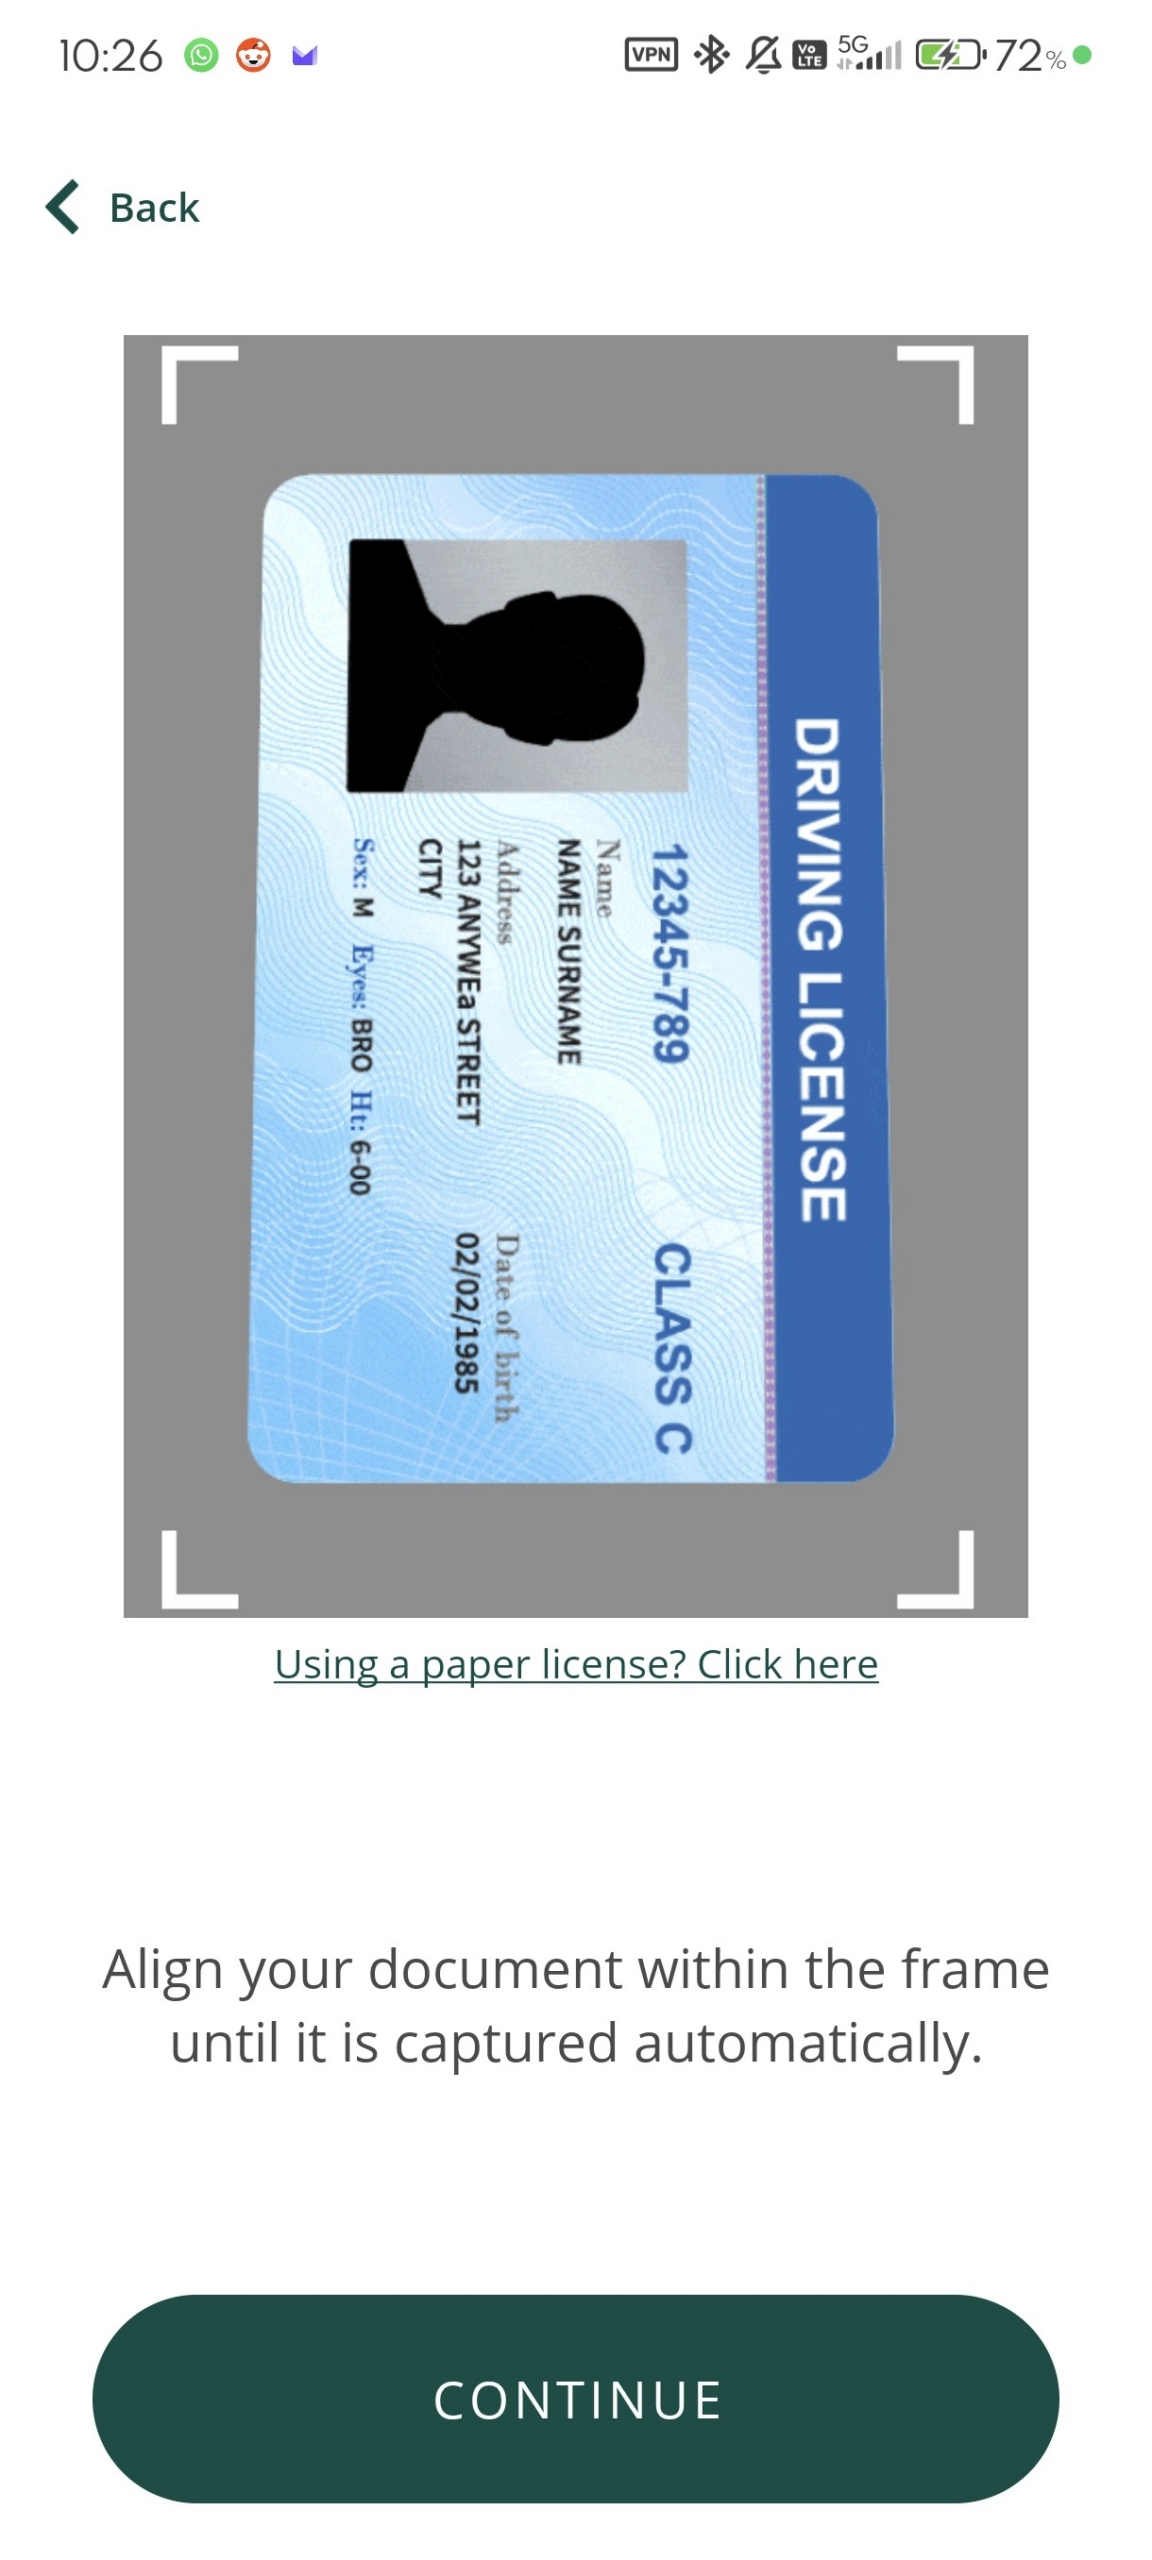
You must now scan your document.
Select “Continue” to start the scan using your phone camera. Place your document inside the frame on the screen and hold your phone still while the app takes the photo.
Repeat this step for the other side of the document. Make sure:
- The Images are clear
- You use the original document not a photocopy
- Your hands or fingers are not covering the document
Next, you will need to complete a face scan to confirm your identity.
Hold your phone in front of your face until the frame turns green. Keep still and wait for the scan to finish.

You will now need to enter your personal details.
Some details may be filled in automatically from your document scan. Check that all details are correct before continuing.
Enter your full name exactly as it appears on your document.
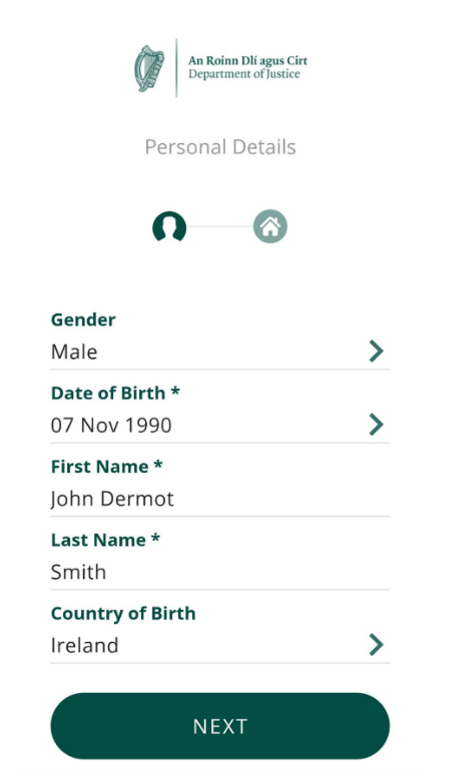
After you enter your personal details, you will be asked to confirm that the information is correct.
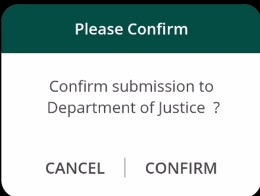
Select “Confirm” to complete your ID-Pal registration and access the customer service portal.
Using The Customer Service Portal
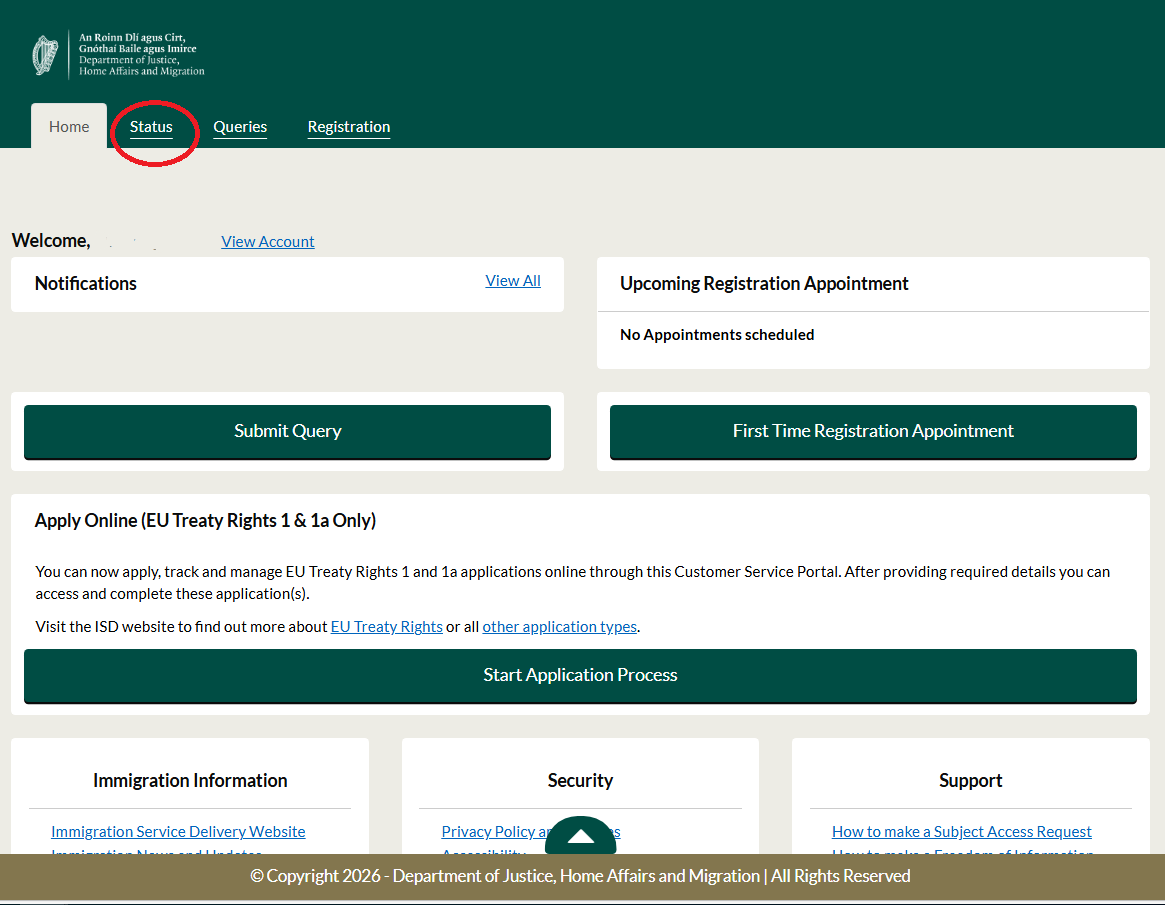
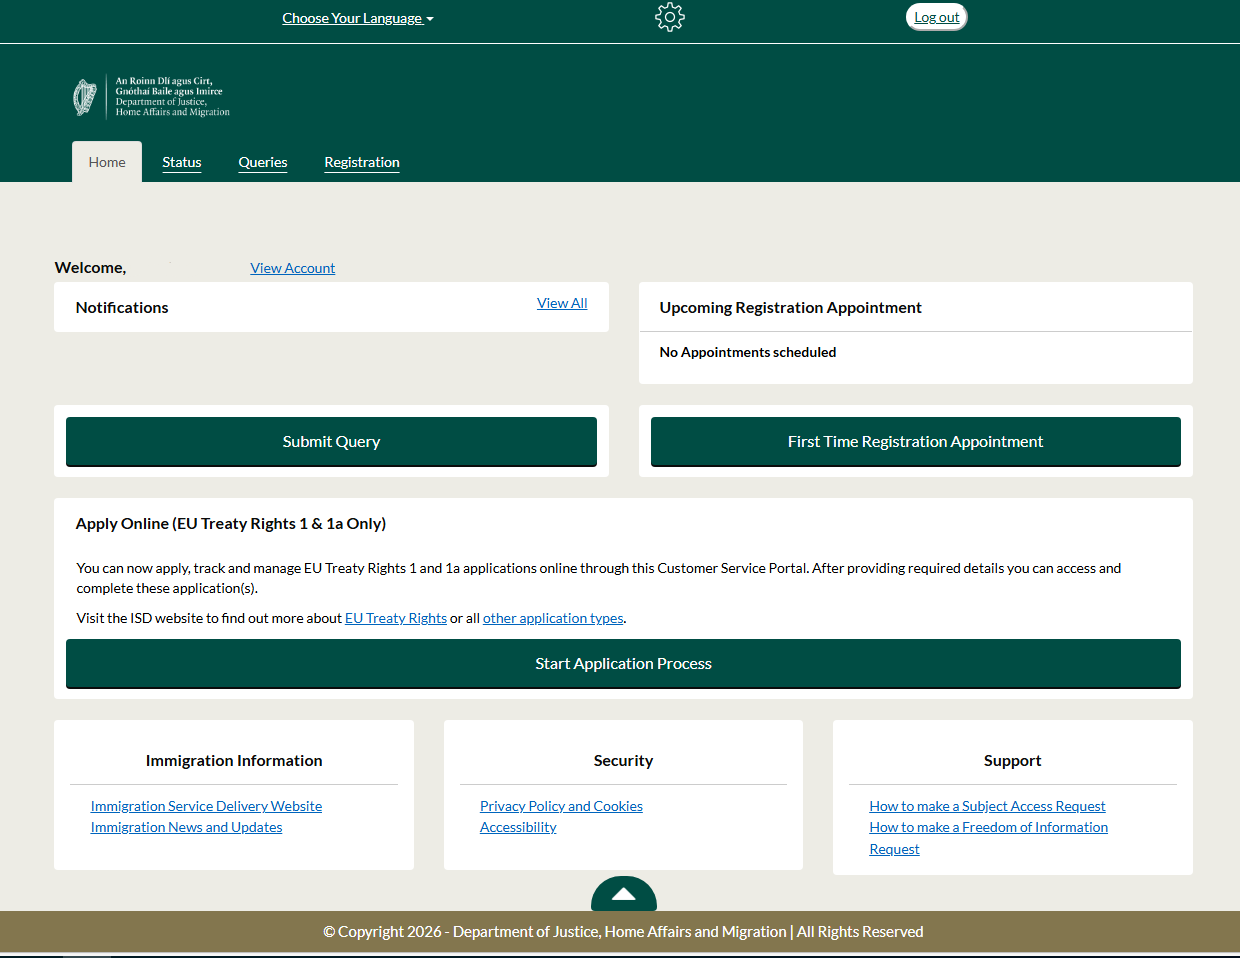
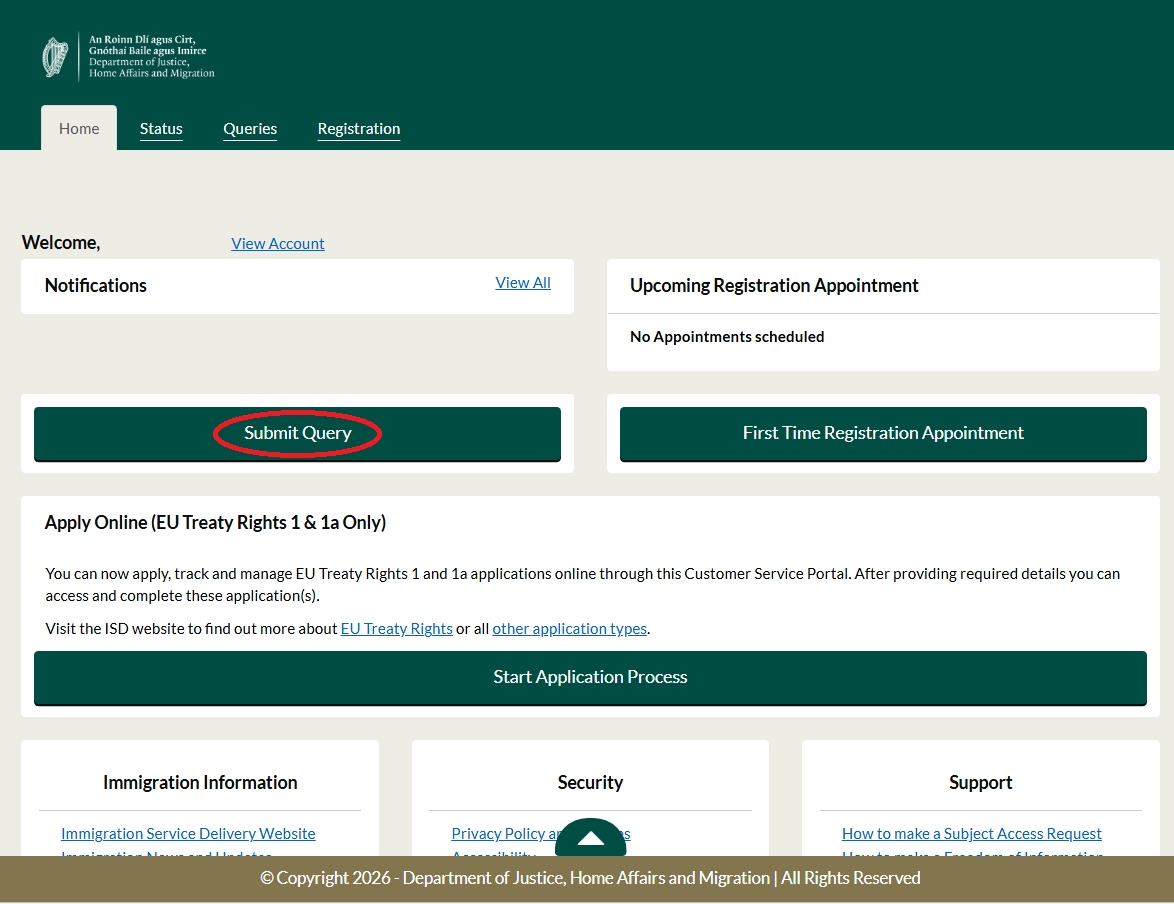
Once you log in, your account should look like this:
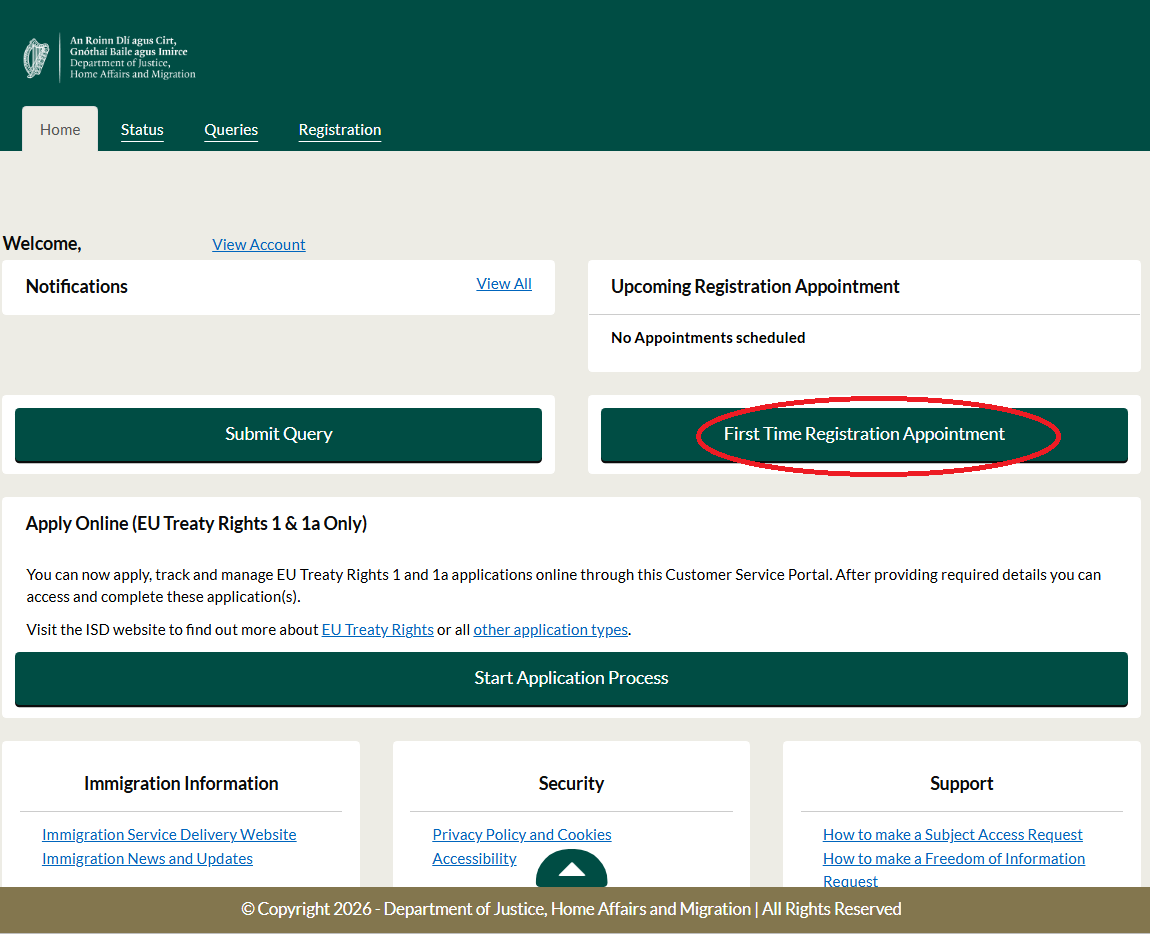
To book your first appointment, click “First Time Registration Appointment” and select which county in Ireland you are currently living in.
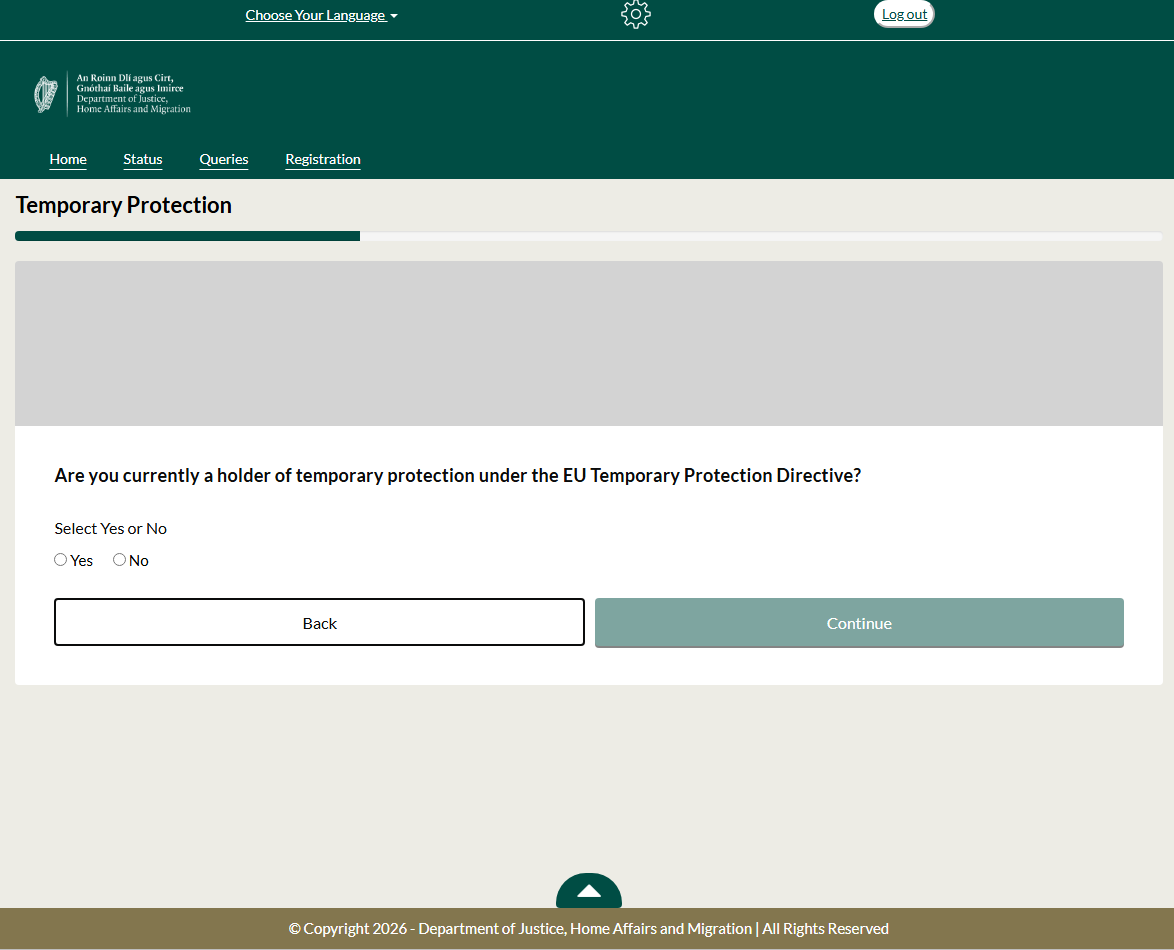
Select whether or not you hold temporary protection under the EU Temporary Protection Directive.
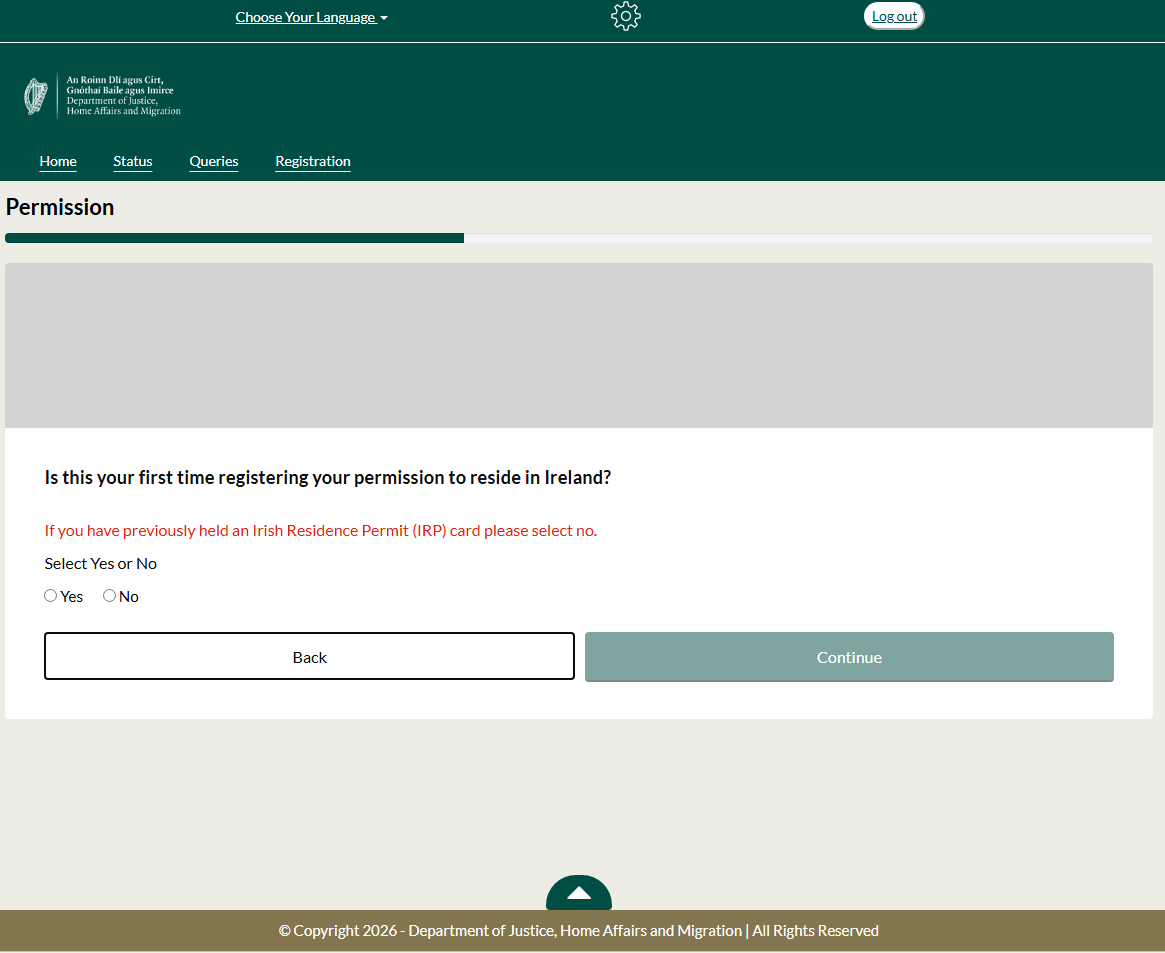
Select yes if this is your first time registering for permission to remain in Ireland.
You should answer ‘no’ if you previously held an Irish Residence Permit (IRP). If you need to renew your registration, you can do it here.
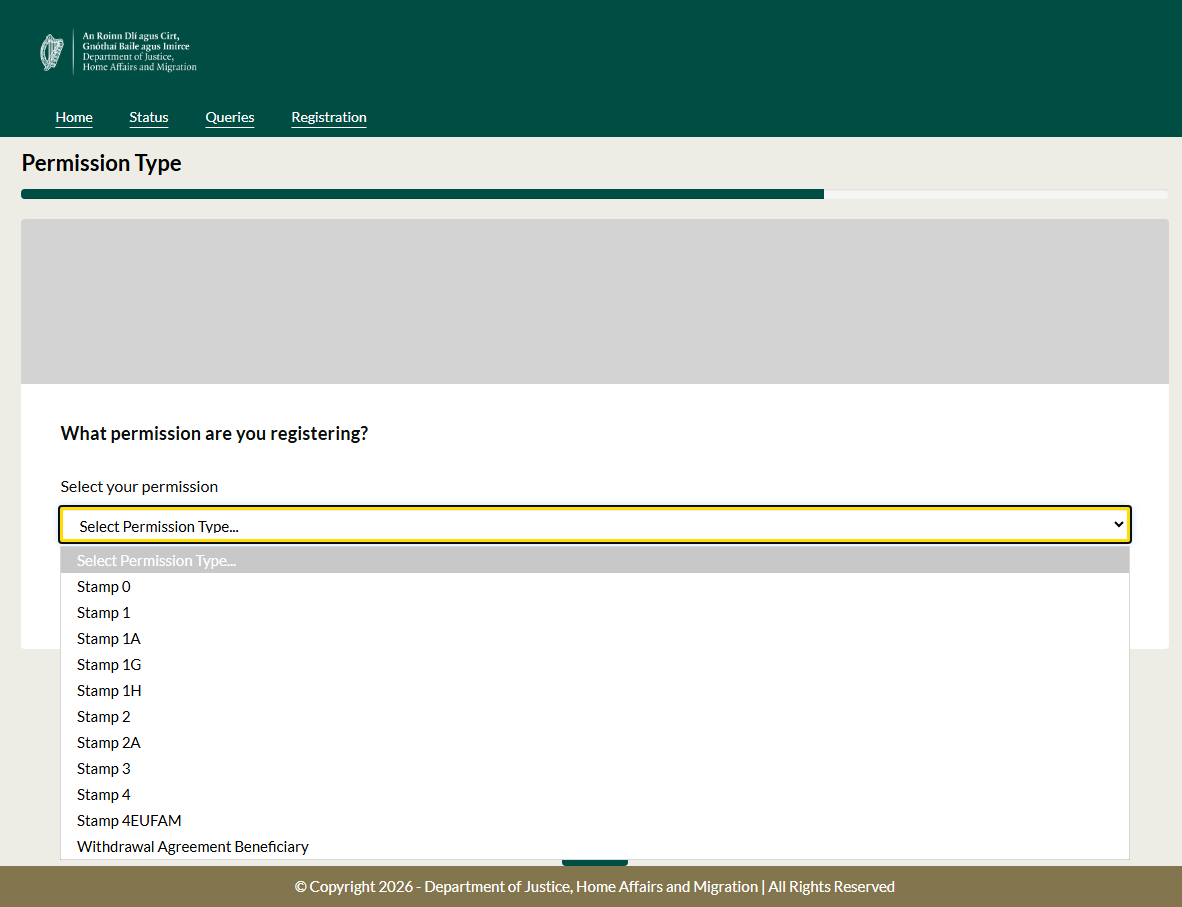
Select what permission you are registering for. To learn more about the conditions for these permissions, visit this page.
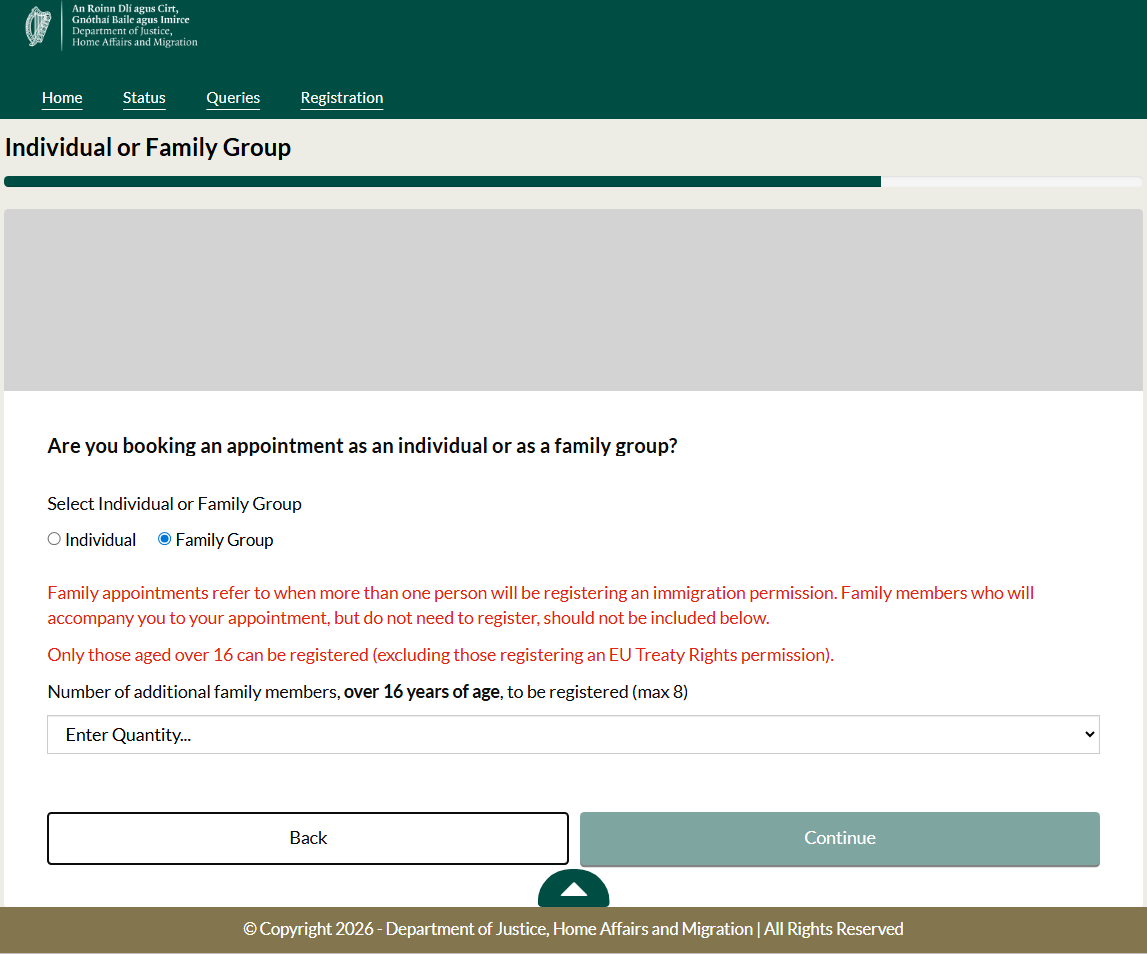
For certain permissions you may be asked whether you are booking for yourself or as a family. If you are registering as a family, select how many will be coming to the appointment.
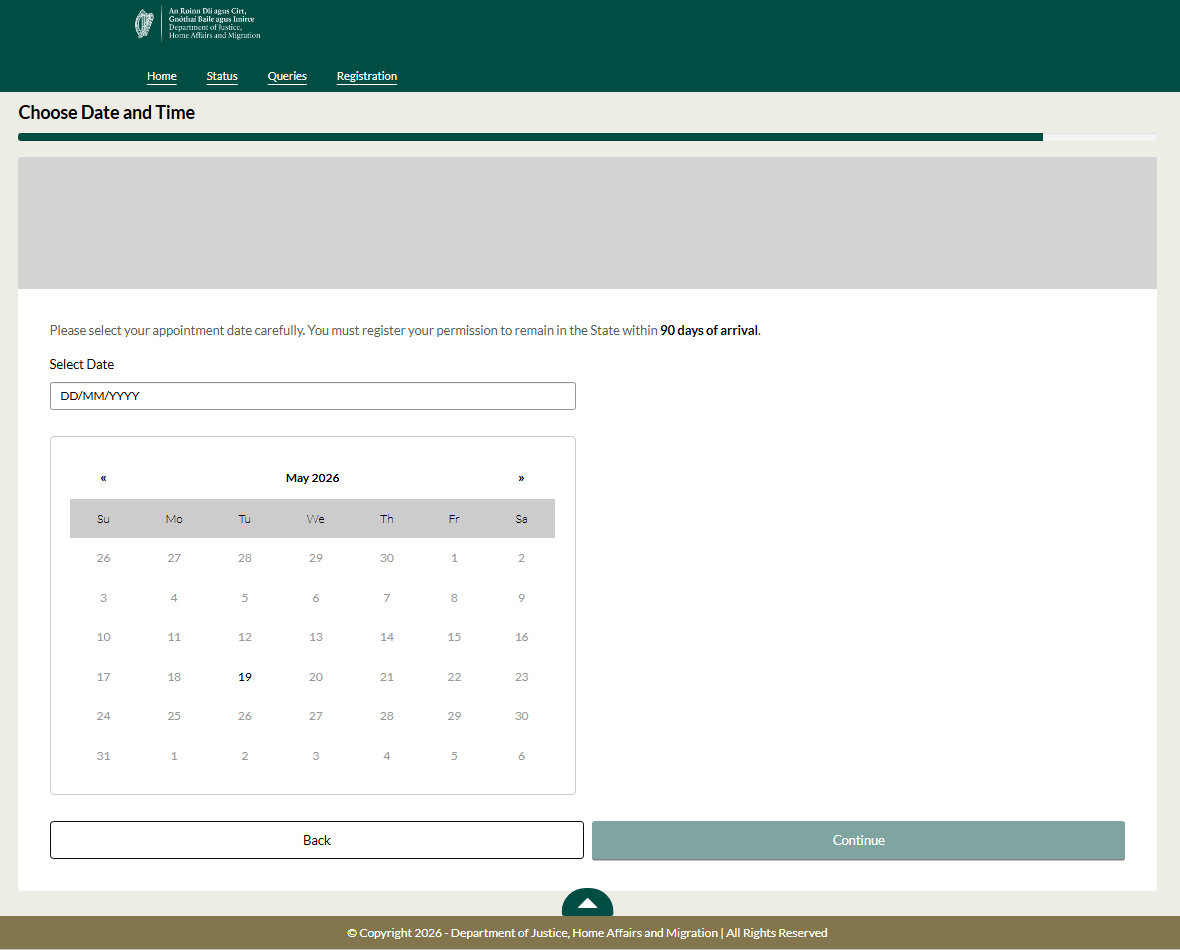
Select your appointment location, date and time using the calendar provided. Remember, you must register within 90 days of arriving in Ireland.
Once you have booked an appointment, you will get an email confirming this.
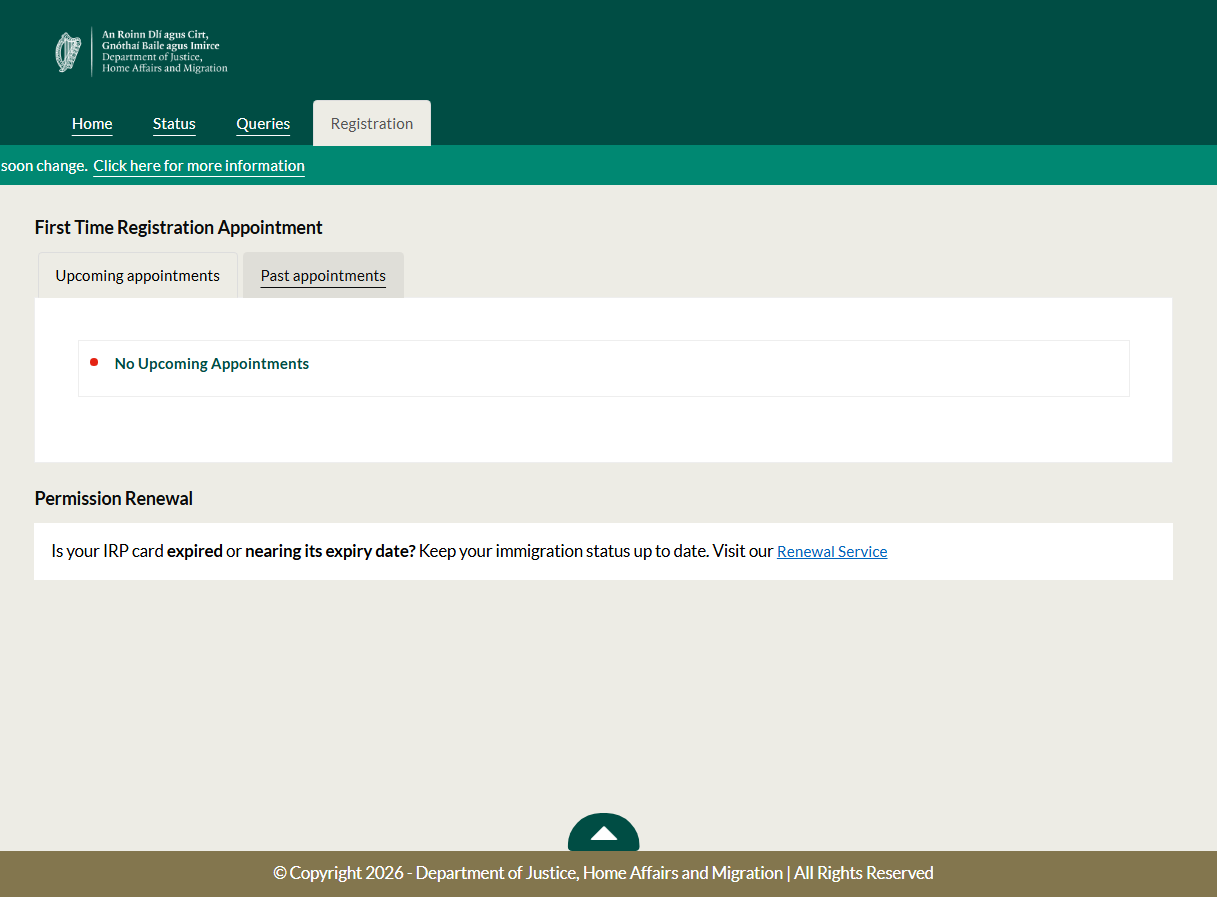
Once you have booked an appointment, you will get an email confirming this. If you want to change or cancel your appointment, click ‘Registration’ to see your options.
To submit a query with a member of our customer service team, click “Submit Query.”
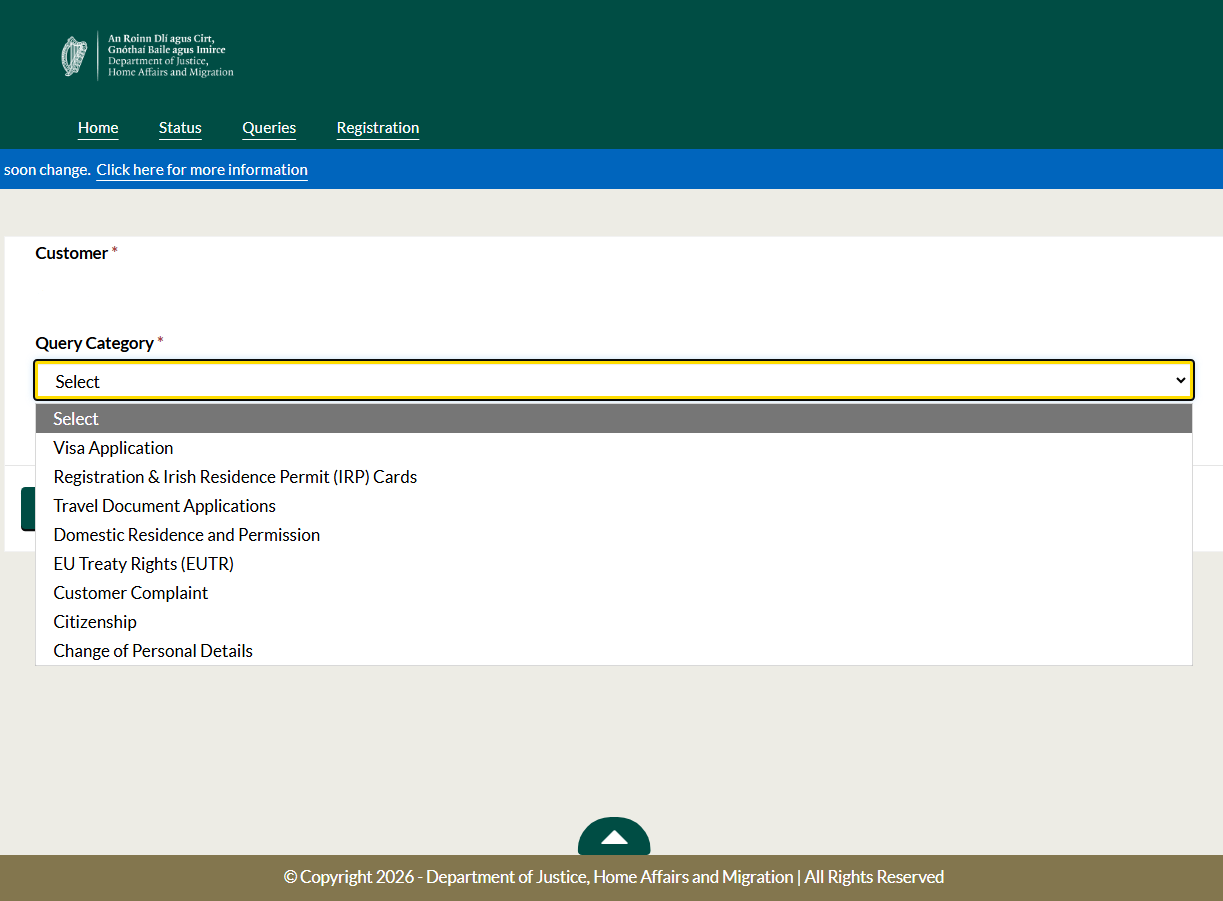
To help direct your query to the correct team, choose the category that best matches your request.
- Visa Application: Questions about completing your visa application.
- Registration: Ask about registering for your Irish Residence Permit (IRP) card.
- Travel Document: Requests relating to the emergency travel documents or the return of documents.
- Domestic Residence and Permission (DRP) : Enquiries about passport returns from DRP or questions about eligibility for applications.
- EU Treaty Rights (EUTR): Questions about eligibility, changing your permission, or determining which EUTR application you should submit.
- Citizenship: Enquiries about Irish citizenship applications, including applications based on birth, descent or naturalisation
- Change of Personal Details: Request changes to your name, address or contact details for an existing application.
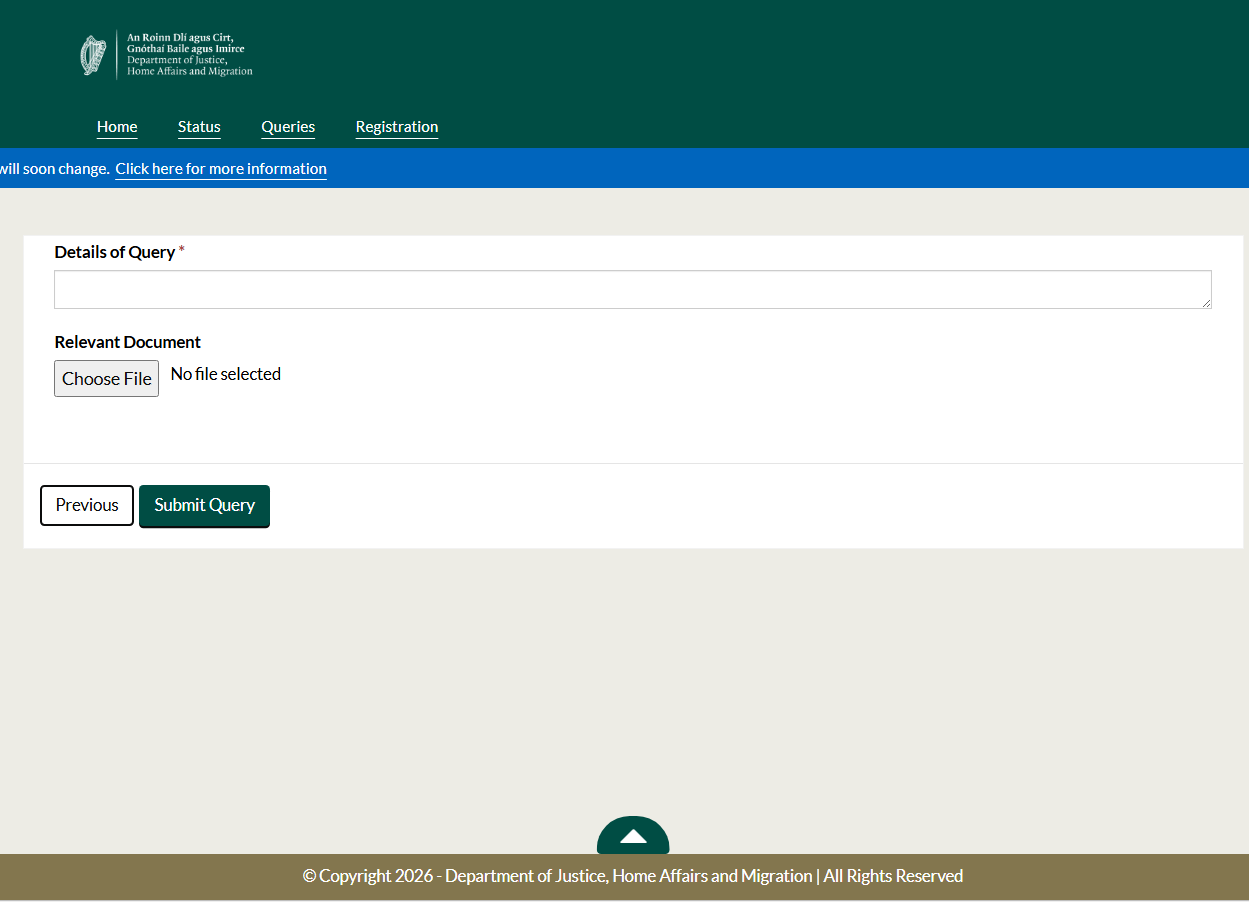
Describe your query and how we can support you. You can attach relevant documents like travel documents, medical records or school transcripts. You should submit these as PDFs, JPEGs or PNGs no larger than 5MB.
- For EUTR applications: Please attach relevant documents as PDF’s or JPEG’s no larger than 10MB.
You can check the status of your queries by clicking the heading “Queries” on the dashboard.
You can find out more about your current applications by clicking the heading “Status” on the dashboard.